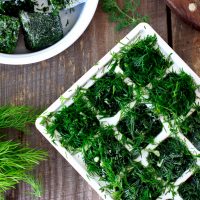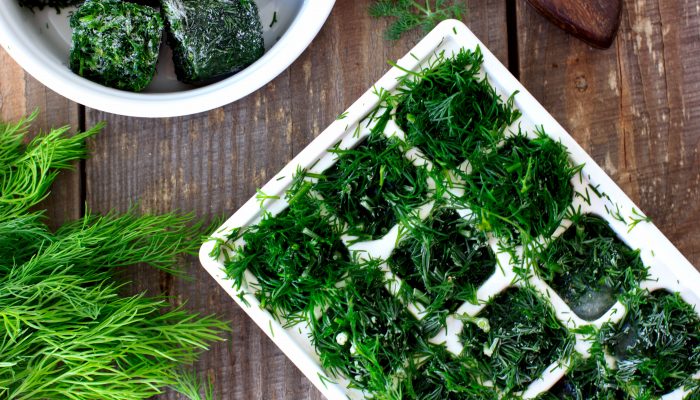

Tips on Harvesting & Saving Herbs From Your Garden
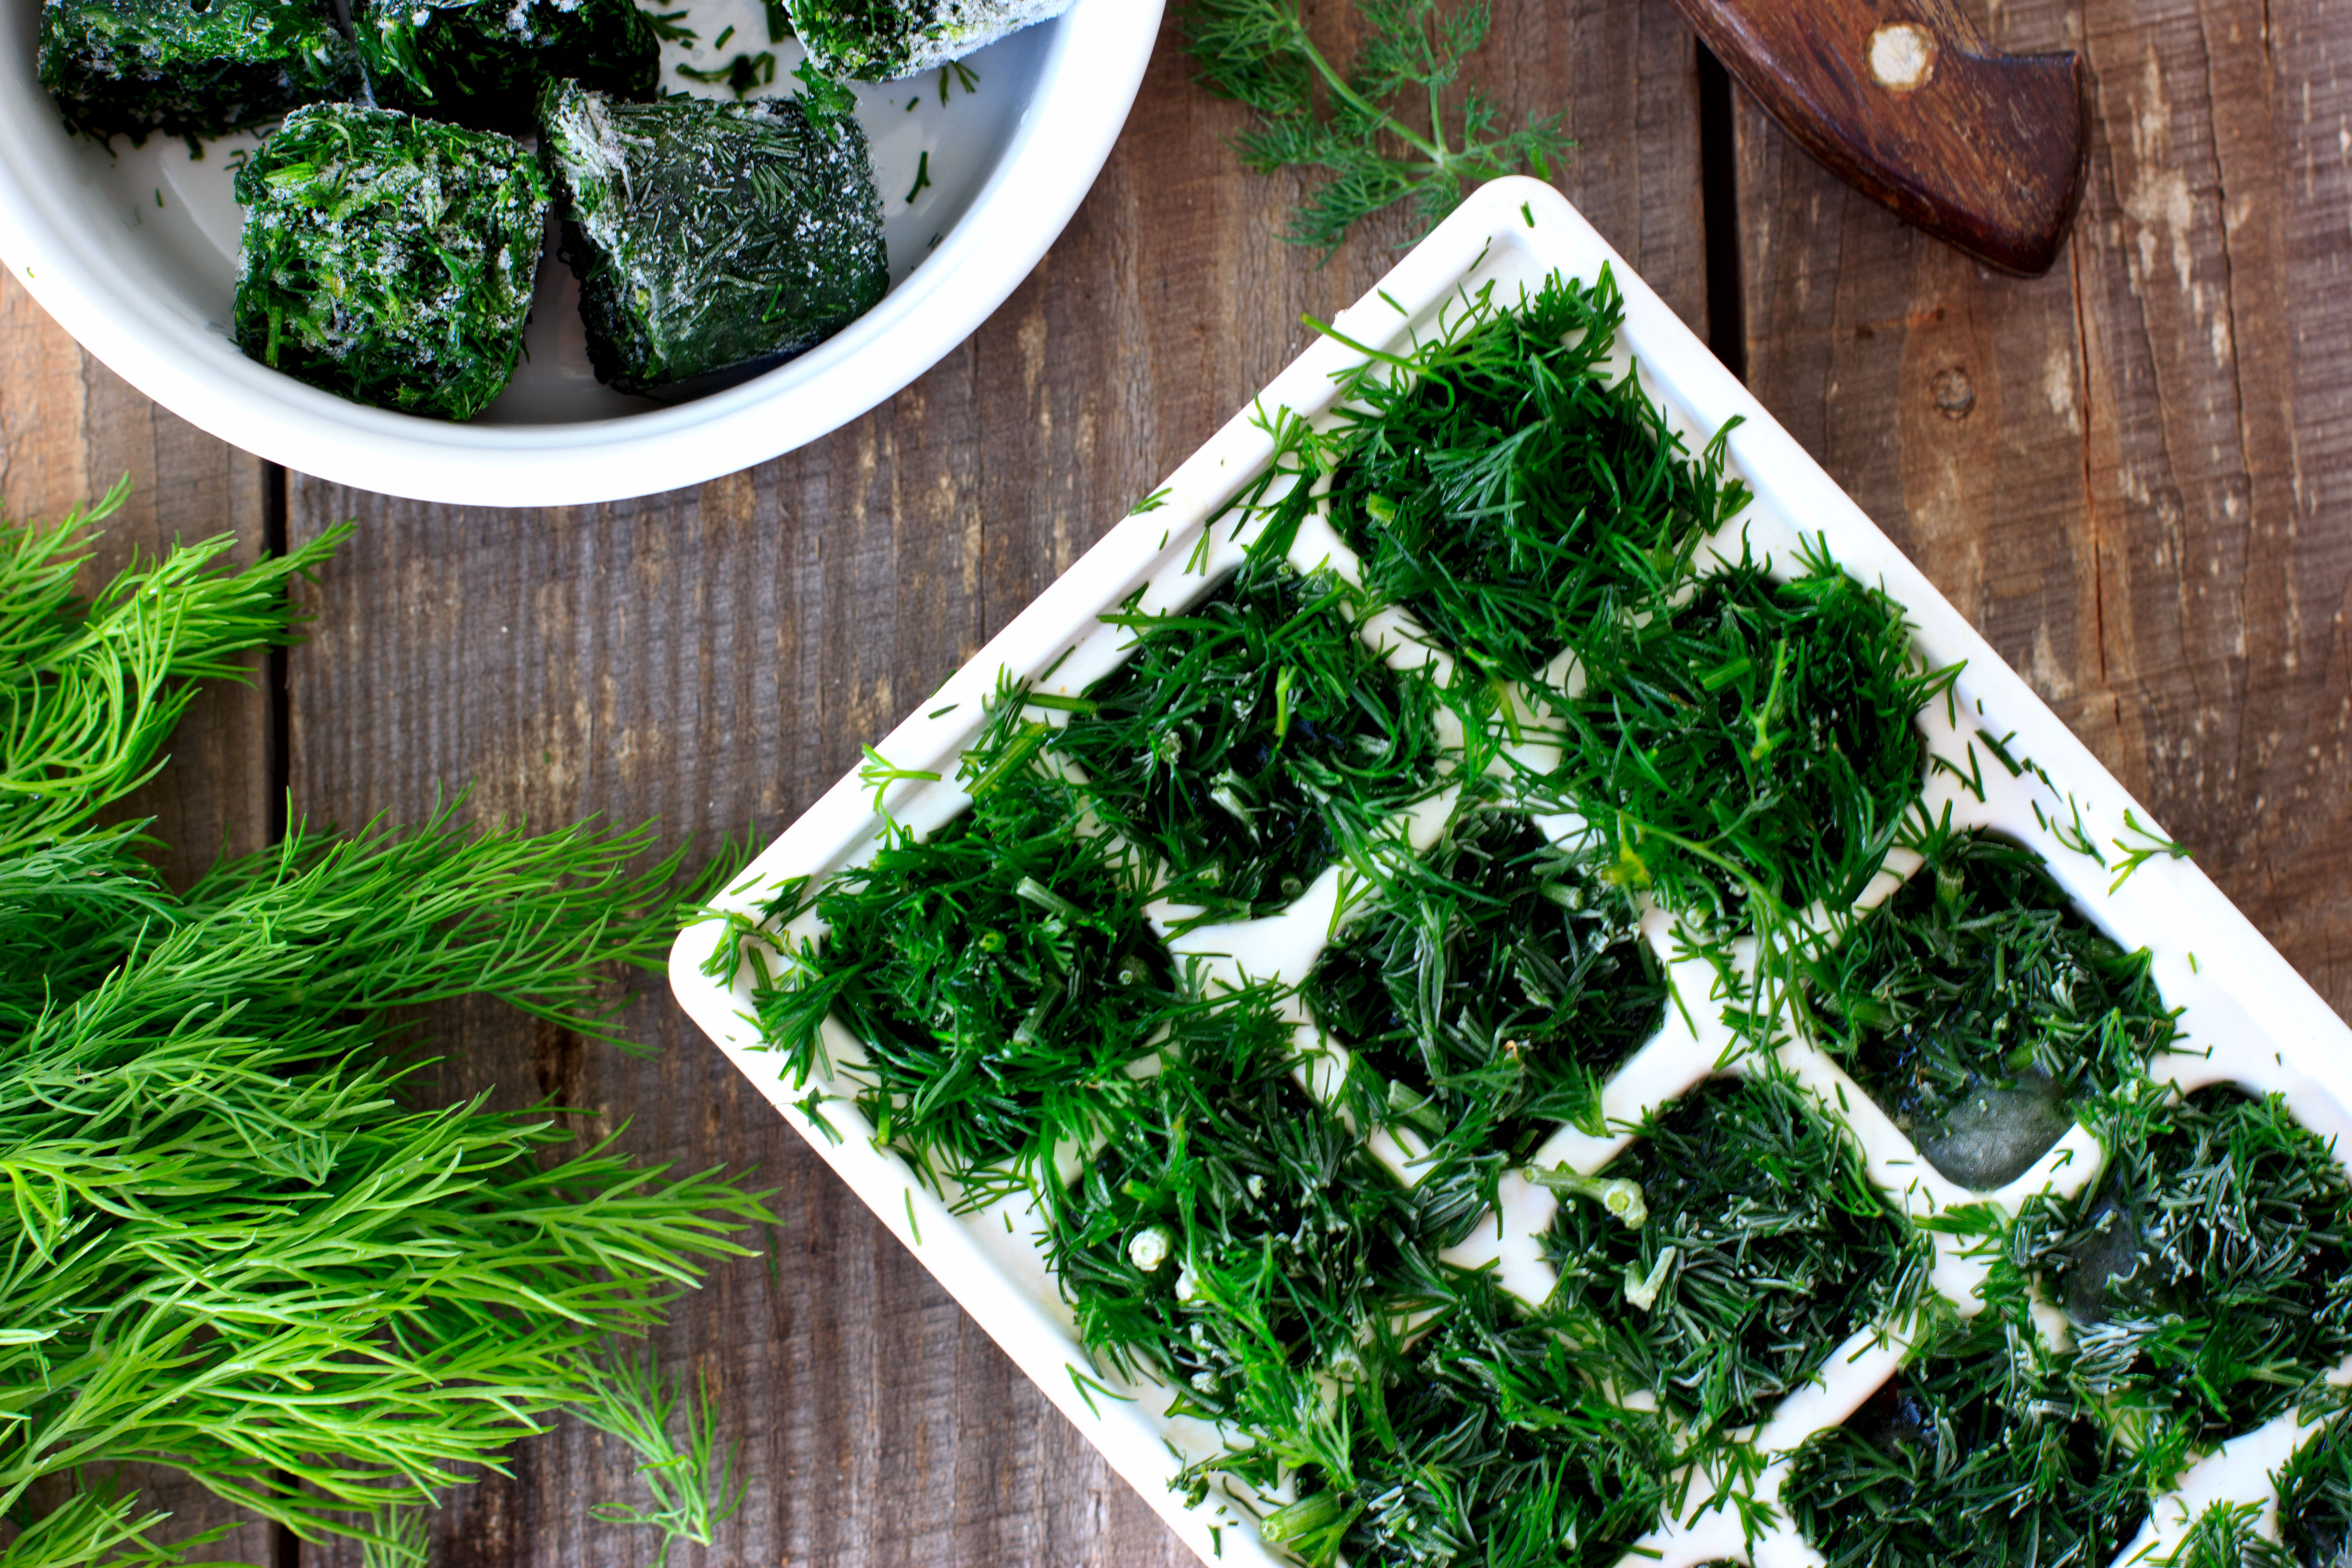
Last year I wrote about growing herbs in containers outside. Well, we’ve expanded our herb garden and now we have herbs in containers and in garden beds! This past year, we were able to grow sage, thyme, oregano, chives, dill, and basil. Our best performing plant was a basil seed that literally turned into a… Read more
Floral Watercolor Baby Shower Printables & Ideas
Please note, this post contains links for your convenience. All purchase links are affiliate links and we receive a very small credit when you purchase something (thank you). Also, the printable links are for personal use only. Please do not share the printables that are listed in this post but feel free to share this… Read more